Learning how to make paneer from milk at home is one of the easiest kitchen skills you can pick up. With just two ingredients and about 30 minutes, you can turn a litre of milk into a block of soft, fresh paneer that tastes far better than anything from a packet. There is no rennet, no ageing and no special equipment involved, which is why homemade paneer is a favourite first cheese for home cooks.
Paneer is a fresh, uncured cheese used in Indian cooking for centuries. It holds its shape in curries, crumbles beautifully over salads and fries up golden in a pan. Once you know how to make paneer at home, you will rarely want to buy it again, because the homemade version is softer, fresher and cheaper.
What You Need to Make Paneer from Milk
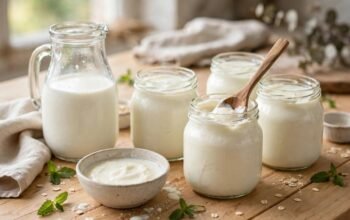
You only need two ingredients to learn how to make paneer from milk: full-fat milk and an acidic agent such as lemon juice or white vinegar. The acid is what makes the milk split into soft curds and watery whey.
Ingredients (makes about 150 grams of paneer):
- 1 litre full-fat whole milk (not UHT milk)
- 2 to 3 tablespoons lemon juice or white vinegar
- A pinch of salt (optional)
Equipment: a heavy-bottomed pan, a colander, a large bowl, a clean muslin cloth or cheesecloth, and a heavy weight such as a pot filled with water.
Full-fat milk gives the best result. Skimmed or low-fat milk will still curdle, but the paneer will be drier and the yield will be smaller. Avoid UHT milk, because it often does not curdle properly. Buffalo milk works even better than cow milk if you can get it, as it is creamier and gives a higher yield.
How to Make Paneer from Milk: Step by Step
Follow these seven simple steps and your first batch of homemade paneer will turn out soft and fresh.
Step 1: Boil the Milk
Pour the milk into a heavy-bottomed pan and bring it to a gentle boil over medium heat. Stir it now and then so it does not stick to the bottom and burn. This usually takes 8 to 10 minutes.
Step 2: Add the Lemon Juice or Vinegar
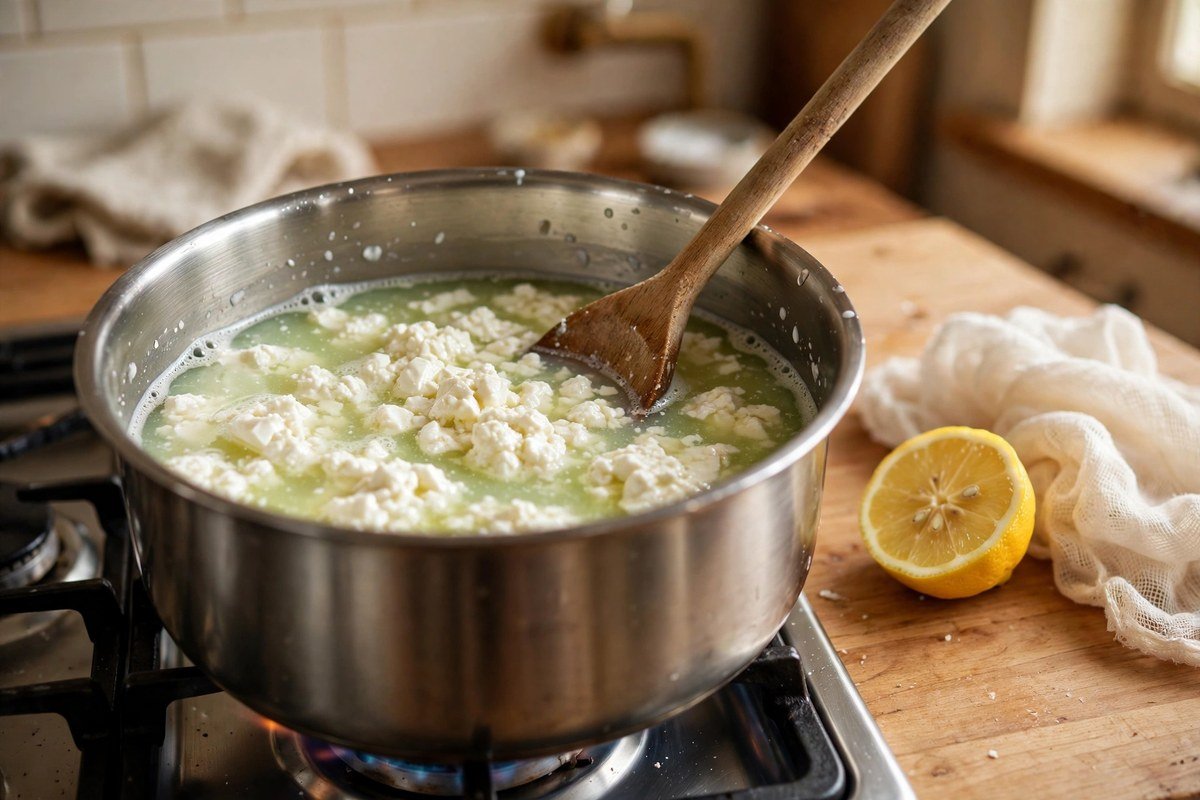
Once the milk starts to boil and rise, turn the heat down low. Add 2 tablespoons of lemon juice or white vinegar and stir gently. Within a minute or two, you will see the milk begin to split into white curds and a pale, greenish liquid called whey.
Step 3: Let the Curds Separate Fully
Keep stirring slowly until the curds have fully separated and the whey looks clear and pale green rather than milky. If the milk has not curdled completely, add one more tablespoon of lemon juice and wait another minute. Do not keep cooking the curds for long after they separate, or the paneer will turn hard.
Step 4: Strain Through a Muslin Cloth
Line a colander with a clean muslin cloth and place it over a large bowl. Pour the curds and whey into the cloth. Rinse the curds gently with a little cold water to wash away any sour taste from the lemon or vinegar. Save the whey if you like; it can be used in dough, soups or dals.
Step 5: Squeeze Out the Whey
Gather the corners of the cloth together and twist it gently to squeeze out as much liquid as you can. The curds should come together into a soft, solid lump. Tie the cloth into a knot and hang it from a tap for about 30 minutes so the remaining whey drains away.
Step 6: Press the Paneer
Place the wrapped paneer on a flat plate, put another plate on top, and set a heavy weight on it, such as a pot full of water. Leave it for 1 to 2 hours. Pressing for longer gives a firmer block that is easy to cut into cubes; pressing for less time keeps it softer and crumblier.
Step 7: Cut and Use
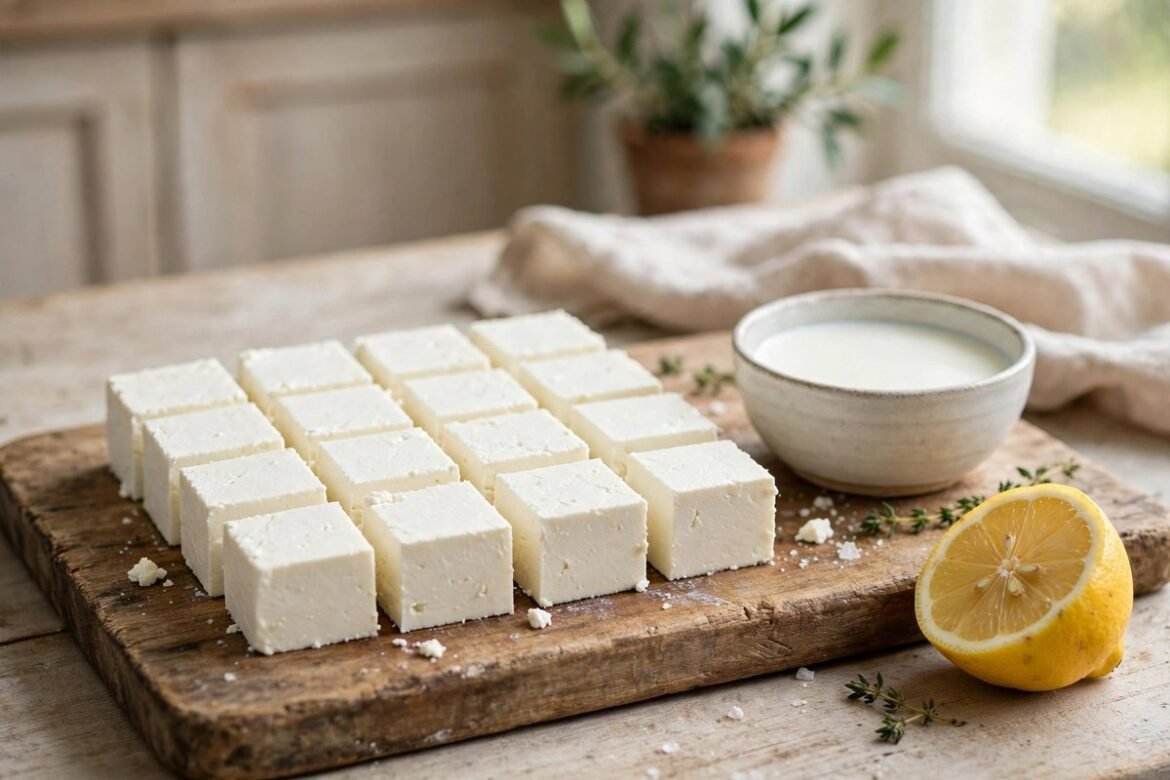
Unwrap the paneer and cut it into cubes with a wet knife. Your fresh homemade paneer is ready to use straight away in curries, snacks or salads.
Tips for Soft, Creamy Paneer
A few small habits make the difference between soft paneer and rubbery paneer. First, always use full-fat milk and add the acid only after the milk has boiled. Adding too much lemon juice or vinegar makes the paneer sour and tough, so add a little at a time and stop as soon as the whey turns clear.
Second, do not overcook the curds. The moment the milk has fully split, take the pan off the heat. Rinsing the curds with cold water also helps, because it stops the cooking and washes away the sourness.
If you want an extra-rich result, you can learn how to make malai paneer by stirring 2 to 3 tablespoons of fresh cream into the milk before you boil it. The added cream makes the paneer softer, smoother and slightly richer, which is lovely for creamy curries and desserts.
How to Store Paneer
Knowing how to store paneer properly keeps it fresh for days. The simplest way is to place the paneer in an airtight container, cover it with cold water, and keep it in the fridge. Change the water every day and use the paneer within 3 to 4 days.
You can also wrap the block tightly in cling film and refrigerate it for up to a week. For longer storage, cut the paneer into cubes and freeze them in a sealed bag for up to 2 months. Thaw frozen cubes in the fridge before cooking, and soak them in warm water for 10 minutes to bring back their softness.
What to Cook with Homemade Paneer
Fresh paneer is one of the most useful ingredients in an Indian kitchen. Use it in palak paneer, paneer butter masala, matar paneer or kadhai paneer. It also works in snacks such as paneer tikka and paneer pakora, and crumbled over salads, wraps and sandwiches. Because homemade paneer is softer than the shop-bought kind, it soaks up the flavour of curries beautifully.
Common Mistakes to Avoid
- Using UHT or skimmed milk: UHT milk may not curdle at all, and skimmed milk gives a dry, low yield.
- Adding too much acid: extra lemon juice does not speed things up; it only makes the paneer sour and hard.
- Boiling the curds for too long: once the whey turns clear, take the pan off the heat.
- Skipping the pressing step: unpressed paneer stays crumbly and will not hold its shape in a curry.
- Storing it dry in the fridge: paneer dries out quickly, so always store it in water or wrapped airtight.
Frequently Asked Questions
How much paneer does 1 litre of milk make?
About 150 grams. Three litres of milk will give you roughly 300 grams of paneer.
Can I use vinegar instead of lemon juice?
Yes. White vinegar works just as well as lemon juice for curdling milk. Use the same amount, about 2 to 3 tablespoons per litre of milk.
Why did my milk not curdle?
The most common reasons are UHT milk, milk that was not hot enough, or too little acid. Bring the milk to a full boil and add a little more lemon juice or vinegar, one tablespoon at a time.
Is homemade paneer healthier than shop-bought paneer?
Homemade paneer has no preservatives and you control the milk you use, so it is usually the fresher choice. It is a good source of protein and calcium.
Conclusion
Now you know how to make paneer from milk at home with nothing more than milk, lemon juice and a little patience. The whole process takes about 30 minutes of active work, plus pressing time, and the result is soft, fresh paneer that lifts any curry or snack. Make a batch this week and taste the difference for yourself. And if you enjoy making dairy at home, try our guide to homemade yogurt next.