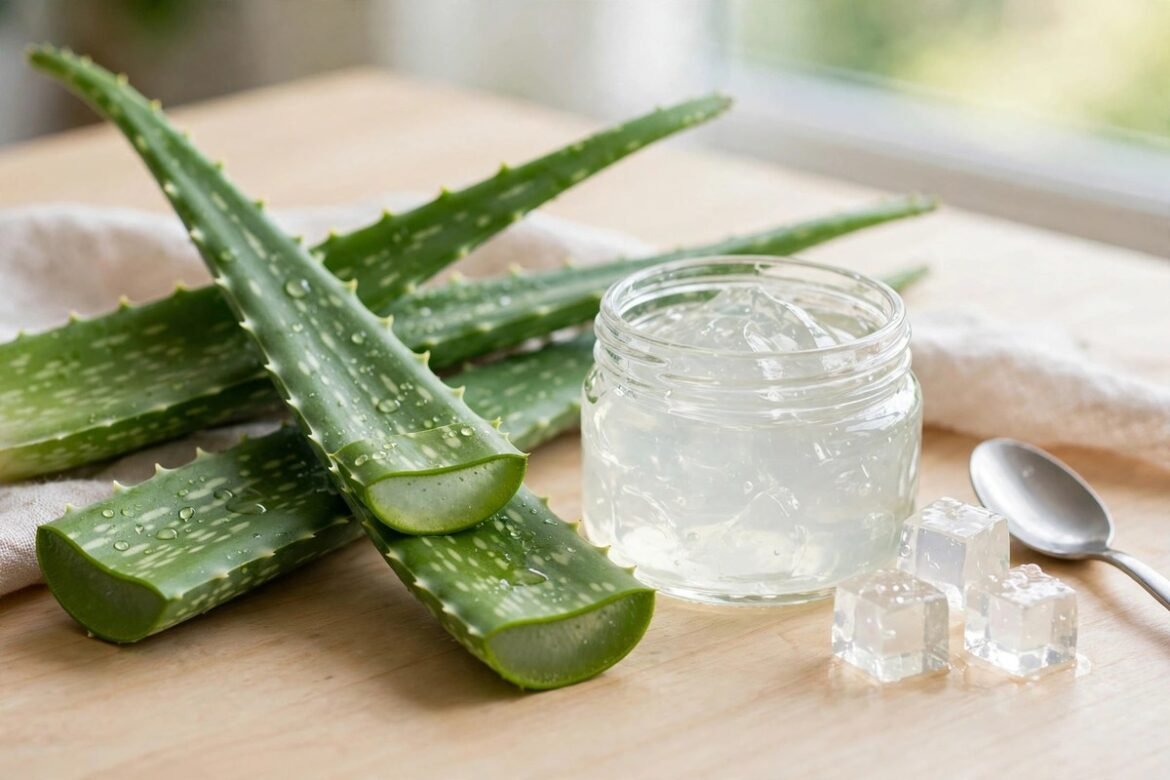
If you have an aloe vera plant sitting on your windowsill, you already have everything you need to make your own gel. Learning how to make aloe vera gel at home is simple: cut a thick leaf, drain away the yellow latex, scoop out the clear gel, and blend it smooth. The result is fresh, pure gel with no added fragrance or colour — ready for your skin and hair in under 20 minutes.
Store-bought gels often contain preservatives, colours, and only a small amount of actual aloe. When you make it yourself, you know exactly what is in the jar. This guide walks you through the whole process, including the one step most people skip — and the easy ways to keep your gel fresh for weeks.
What You Will Need
You do not need any special equipment. Gather these before you start:
One large, thick aloe vera leaf from a mature plant (look for an outer leaf, at least 8–10 inches long). A sharp knife and a clean cutting board. A spoon for scooping out the gel. A blender. A clean, dry glass jar with a lid. A glass or bowl to stand the leaf in. Optional: one vitamin E capsule or a pinch of vitamin C powder, to help the gel last longer.
Choose a leaf from the base of the plant. Older, outer leaves hold more gel and more of the plant’s active compounds than small, young ones in the centre.
How to Make Aloe Vera Gel at Home: Step by Step
Follow these steps in order, and do not rush the draining step — it is the most important part. Together, they show you how to extract aloe vera gel from a fresh leaf and turn it into a smooth gel you can store.
- Cut the leaf. Using a clean, sharp knife, cut one thick outer leaf close to the stem. Rinse it under running water and pat it dry.
- Drain the yellow latex. This is the step that makes the difference between soothing gel and an irritant. Trim off the white end of the leaf and stand it upright, cut-side down, in an empty glass or jar. A yellow, bitter liquid will start to drip out. Leave the leaf standing for 10–15 minutes so all of this latex, called aloin, drains away. Aloin can irritate the skin, so discard the yellow liquid and never mix it into your gel.
- Rinse and trim. Give the drained leaf a quick rinse to wash away any remaining latex. Lay it flat on your cutting board and carefully slice off the spiky edges on both sides.
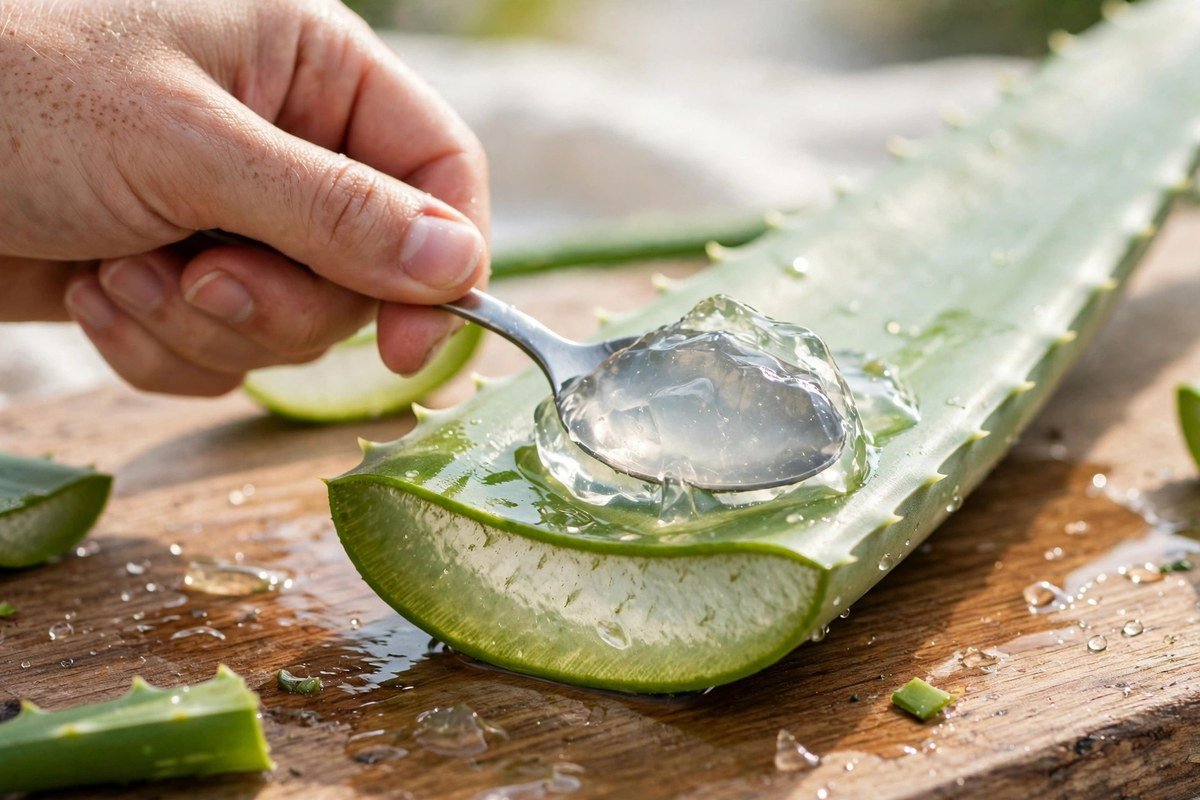
- Fillet the leaf. Slice off the top layer of green rind, as if you were filleting a fish, to expose the clear gel inside. Then slide your knife under the gel to lift it away from the bottom rind — or simply scoop it out with a spoon.
- Blend it smooth. Place the clear gel chunks in a blender and blend for 20–30 seconds, just until smooth. Do not over-blend; too much air makes the gel frothy. If you like a completely smooth texture, pour the blended gel through a fine mesh sieve to remove any fibres.
- Add a natural preservative (optional). Pure gel with nothing added lasts only about a week in the fridge. For a longer life, stir in the oil from one vitamin E capsule per quarter cup of gel, or a quarter teaspoon of vitamin C powder per half cup. Both are natural antioxidants that slow down browning and keep the gel fresh for several weeks.
- Store it in a clean jar. Pour the gel into a sterilised glass jar, close the lid tightly, and refrigerate it straight away. Label the jar with the date so you know when you made it.
How to Store Homemade Aloe Vera Gel
Homemade gel has no synthetic preservatives, so storage matters. Keep these timeframes in mind:
In the fridge, no preservative: about 7 days. In the fridge, with vitamin C or E: several weeks, often up to a month. Frozen in ice cube trays: up to 6 months. Freeze the gel in small portions, then move the cubes to a sealed bag. Thaw one cube at a time as needed. At room temperature: only 1–2 days. The gel spoils quickly in warmth, so the fridge is not optional.
Use a clean spoon or spatula every time you take gel from the jar, and throw the batch away if it smells off, turns brown or pink, or feels slimy in a strange way. When in doubt, make a fresh batch — one leaf only takes a few minutes.
How to Use Aloe Vera Gel
Once your gel is ready, it is useful in more ways than one. Here is how to use aloe vera gel in everyday routines.
For your face: Apply a thin layer to clean skin as a light moisturiser, morning or night. It sinks in quickly and suits most skin types, including oily skin, because it feels light and non-greasy. Always do a patch test on a small area first, especially if your skin is sensitive.
For your hair: Aloe vera gel for hair works well as a simple scalp treatment and leave-in conditioner. Massage a spoonful into your scalp and through the lengths, leave it for about 30 minutes, then wash it out with a mild shampoo. It can help calm an itchy scalp and leave hair feeling soft and smooth.
After sun exposure: Keep a jar in the fridge during summer. Cool gel feels soothing on sun-warmed skin, and many people use it after a long day outdoors. For a tan that will not fade, see our guide on how to get rid of tan naturally for more gentle home remedies that pair well with aloe.
For minor skin care: Dab a little on dry patches, rough elbows, or after shaving to calm the skin. A small amount goes a long way.
Remember that this gel is for external use only. Homemade gel is not prepared for eating, so do not consume it.
Mistakes to Avoid
Skipping the latex drain. This is the most common mistake. Yellow aloin left in the gel is the main reason homemade aloe irritates skin.
Using a dirty jar. Even a small amount of bacteria can spoil the whole batch. Wash the jar with hot, soapy water and let it dry fully first.
Leaving the gel on the counter. Refrigerate it immediately — warmth and light break it down fast.
Blending for too long. A quick blend is enough. Over-blending whips in air and makes the gel go off sooner.
Using a thin, young leaf. Small centre leaves give very little gel. Always pick a thick outer leaf.
Frequently Asked Questions
How long does homemade aloe vera gel last? About a week in the fridge with no preservative, several weeks with vitamin C or E added, and up to 6 months frozen in ice cube trays.
Can I use aloe vera gel every day? Yes, most people can use a small amount daily on the face and hair. Start with a patch test, and stop if you notice redness or itching.
Does homemade gel suit all skin types? It suits most skin types, including oily and combination skin. If your skin is very sensitive, patch test first and keep the gel plain, with no added fragrance or essential oils.
Why did my gel turn brown? Browning is oxidation, and it happens faster when the gel is exposed to air and light. A dark glass jar, a tight lid, and a little vitamin C or E help slow it down.
Can I make gel without a blender? Yes. Mash the scooped gel with a fork or whisk it well by hand. The texture will be slightly less smooth, but it works just as well.
Conclusion
Making your own aloe vera gel is one of the easiest natural skincare projects you can try at home. One leaf, a few minutes, and a clean jar are all it takes — and the gel you get is fresh, pure, and free of anything you did not choose to add. Just remember the golden rule: drain the yellow latex first, keep the gel in the fridge, and make a fresh batch when the old one runs out. Once you try it, you may never go back to a store-bought tube.