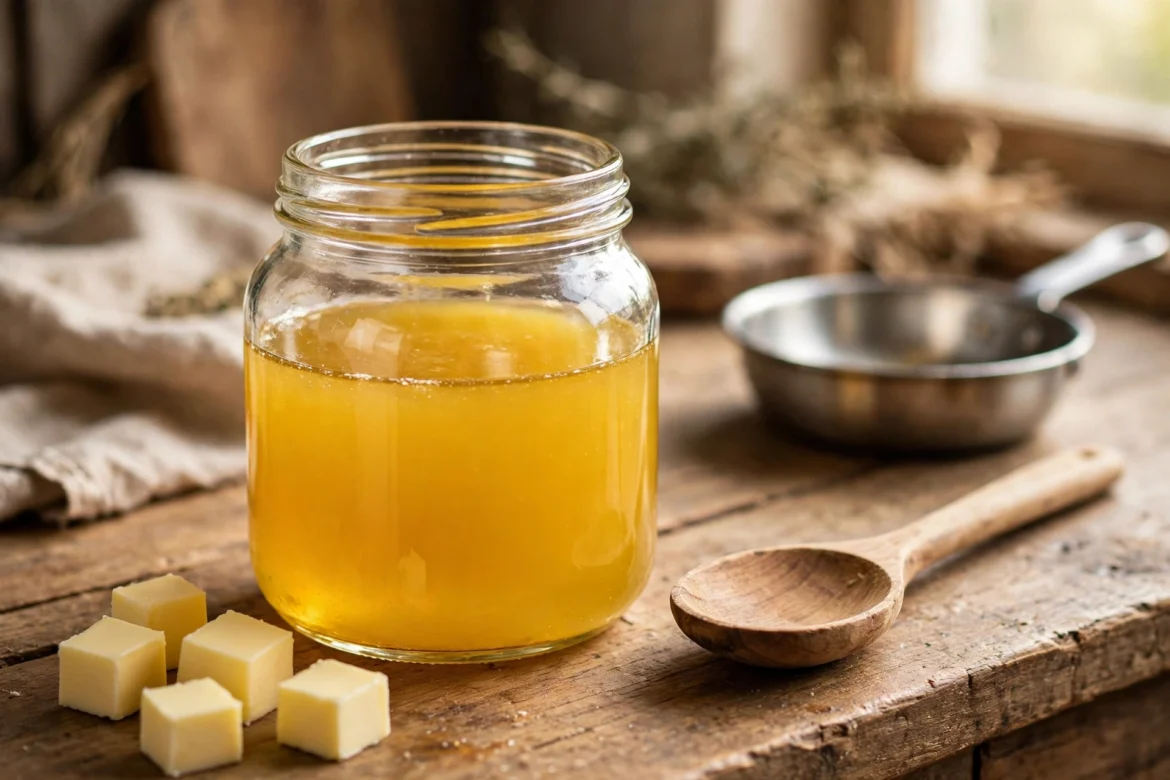
Ghee is one of those kitchen staples that looks fancy in a jar but is surprisingly simple to make yourself. If you have ever wondered how to make ghee at home, the good news is that this homemade ghee recipe needs just one ingredient, one pan, and about 25 minutes. The result is a jar of golden, nutty, aromatic clarified butter that keeps for months and makes everything from tadka to toast taste better.
Store-bought ghee is convenient, but homemade ghee costs less, tastes fresher, and lets you control the quality of the butter you start with. Once you try it, you may never go back to the shop-bought jar. This guide walks you through the classic butter method step by step, plus the traditional curd method, so you can pick the one that suits your kitchen.
What Is Ghee?
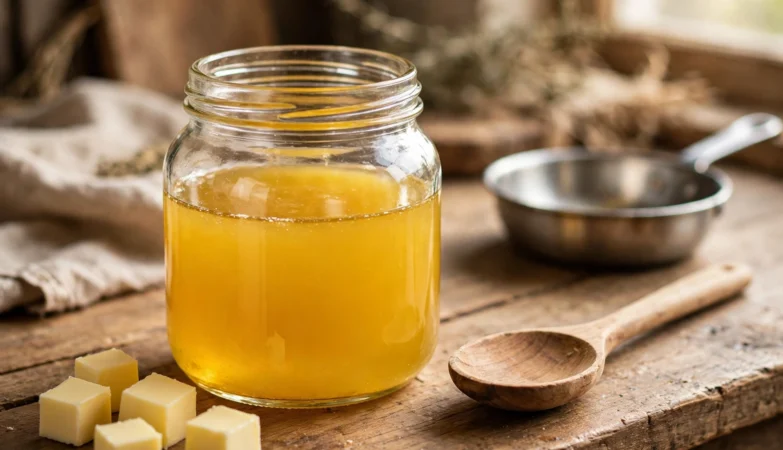
Ghee is clarified butter. It is made by gently heating butter until the water evaporates and the milk solids separate and sink to the bottom. If you are learning how to make ghee at home for the first time, it helps to know what is actually happening in the pan: the clear golden fat is strained off, leaving pure butterfat behind. Learning how to make clarified butter at home is the same process — ghee is simply the Indian name for it, usually cooked a little longer so the milk solids turn golden brown and give it a nutty flavour.
Because the milk solids are removed, ghee has a much higher smoke point than butter — around 250°C (480°F), compared with roughly 120–180°C for butter. That makes it excellent for frying, roasting, and tempering spices. It is also nearly free of lactose and casein, which is why many people who are sensitive to dairy find ghee easier to digest than butter. And with no water left in it, ghee keeps far longer than butter, even at room temperature.
Ghee vs Butter: What’s the Difference?
The ghee vs butter question comes up a lot, and the answer comes down to what is left after the cooking. Butter is about 80% fat, with the rest water and milk solids. Ghee is nearly pure butterfat, because the water is boiled off and the milk solids are strained out. That single difference changes almost everything about how the two behave in the kitchen.
Ghee has a far higher smoke point, so it is the better choice for frying and high-heat cooking, while butter burns easily. Ghee keeps for months without refrigeration, while butter needs the fridge and goes off much faster. Ghee also has a deeper, nuttier flavour from the browned milk solids, where butter tastes creamy and mild. Butter wins on convenience — you can spread it straight from the fridge — but for cooking, and especially for Indian cooking, ghee is the more versatile fat. Many cooks keep both: butter for the table, ghee for the pan.
What You Need to Make Ghee at Home
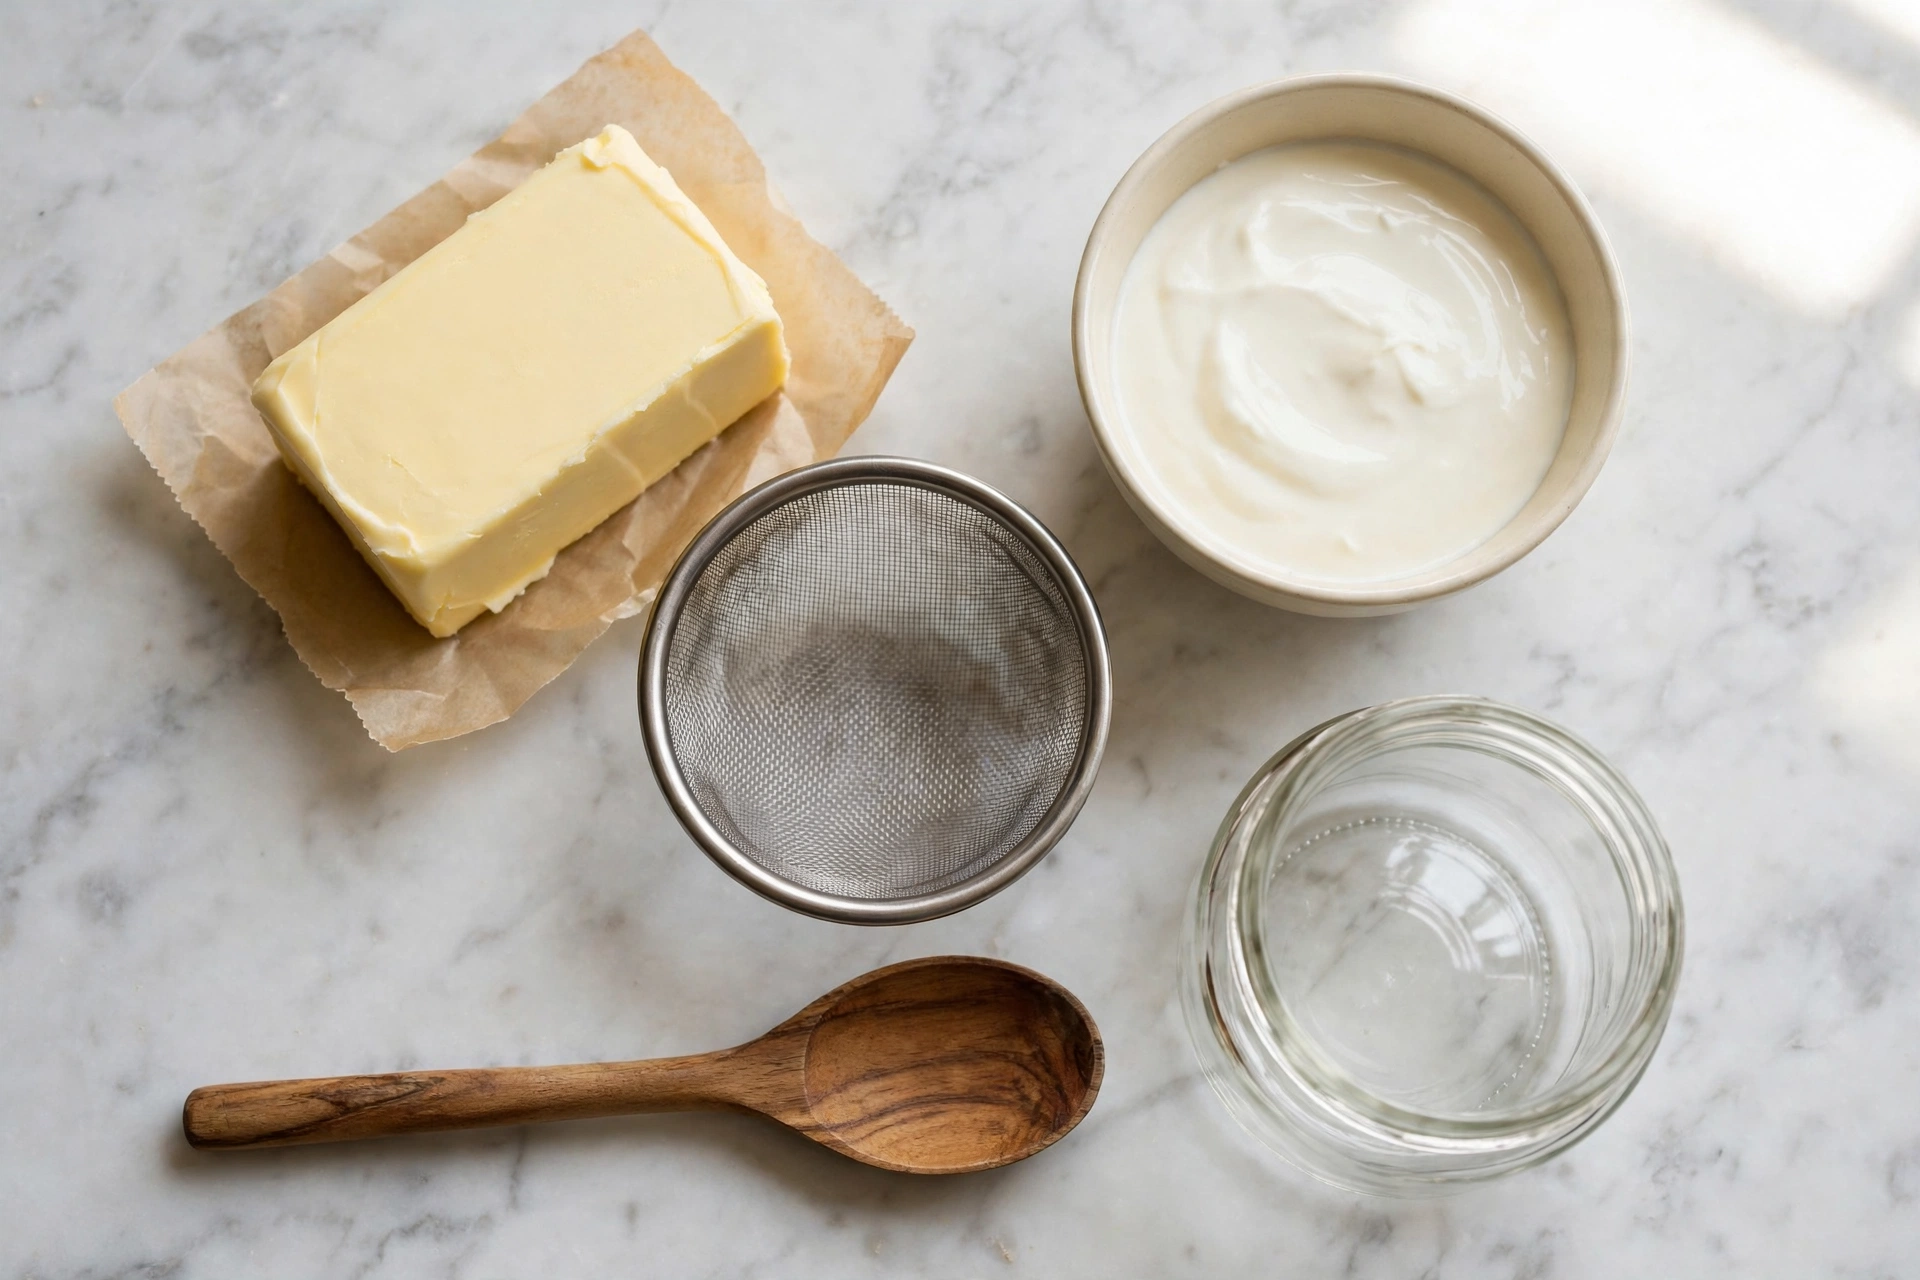
You do not need any special equipment. Here is the short list:
- Unsalted butter — 500 g (about 1 lb) is a good first batch. Use good-quality butter; the ghee will only taste as good as the butter you start with. Cultured or European-style butter gives an even richer flavour.
- A heavy-bottomed saucepan — stainless steel or cast iron works best, so the milk solids do not scorch.
- A wooden spoon — for gentle stirring and skimming.
- A fine-mesh strainer lined with cheesecloth or muslin — for straining out every trace of milk solids.
- A clean, completely dry glass jar with a lid — for storage. Any moisture in the jar can spoil the ghee.
That is all. No thermometer, no special tools, and no additives of any kind.
How to Make Ghee from Butter at Home
This is the quickest and most reliable way to learn how to make ghee from butter at home. One batch takes about 20–25 minutes from start to finish, and most of that time is hands-off simmering.
Step 1: Melt the butter slowly
Cut the butter into chunks and place them in the heavy-bottomed saucepan over low heat. Let it melt completely without a lid — the water in the butter needs somewhere to go. Do not rush this step with high heat, or the milk solids can burn before the water has evaporated.
Step 2: Let it simmer and watch the foam
Once the butter has melted, it will start to bubble and a white foam will rise to the surface. That foam is water vapour and whey proteins escaping. Keep the heat low and let it simmer gently. The butter will crackle as the water boils off — this sound is your best clue about what is happening inside the pan. Resist the urge to stir constantly; an occasional gentle swirl is enough.
Step 3: Wait for the three signs it is done
After 15–25 minutes, three things happen almost together. First, the crackling sound almost completely stops, which means the water has gone. Second, the liquid turns golden and transparent — you can see the bottom of the pan through it. Third, the milk solids that have settled at the bottom turn light golden brown, and a nutty, popcorn-like aroma rises from the pan. When you see all three signs, your ghee is ready.
Step 4: Take it off the heat at once
Remove the pan from the heat immediately. The milk solids keep cooking in the hot fat, so even a minute too long can turn them dark brown and give the ghee a burnt taste. Let the pan sit for about five minutes so it cools slightly before straining.
Step 5: Strain into a dry jar
Pour the warm ghee through the cheesecloth-lined strainer into your clean, dry glass jar. The strainer catches the browned milk solids; the clear golden liquid that passes through is your ghee. Leave the jar open until the ghee has cooled to room temperature, then seal it with the lid. Cooling it uncovered prevents condensation inside the jar, which could lead to mould.
That is the whole process. From 500 g of butter you can expect roughly 400 g (about 1¾ cups) of ghee, since butter is around 80% fat and the rest is water and milk solids.
How to Make Ghee from Curd
The traditional Indian method starts one step earlier — with curd. If you already set curd at home, you can learn how to make ghee from curd with a little extra effort, and many people feel this method gives the most aromatic result.
First, churn the curd to separate the butter. Add a little cold water to a bowl of fresh curd and whisk or churn it until the butter separates and floats to the surface. Scoop the butter off, wash it once or twice in cold water to remove any curd residue, and you have fresh white butter. From there, the process is exactly the same as the butter method above: melt it slowly, simmer until the water evaporates and the solids turn golden brown, then strain.
If you set your own curd, our guide on how to make yogurt at home walks through the process step by step — the same thick, well-set curd that makes great yogurt is the perfect starting point for this method. And if you are curious about what that daily bowl of curd does for you, read about the benefits of eating curd daily before you turn it all into ghee.
The curd method takes longer than starting from butter, but it is the cheapest way to make ghee, because it uses milk you already buy, and the flavour is wonderfully deep and nutty.
Starting from cream (malai)
There is one more traditional starting point worth knowing. If you boil milk at home, you can skim off the cream (malai) that forms on top each day and collect it in a container in the fridge. After a week or so, churn that collected cream into butter, wash it in cold water, and follow the same simmering steps as the butter method. Knowing how to make ghee from cream this way is the most economical route of all, since it uses something you would otherwise throw away. The same idea applies if you are wondering how to make ghee from milk cream specifically — collect the malai, churn it to butter first, and then clarify it exactly as described above.
Why Make Ghee at Home Instead of Buying It?
There are a few honest reasons homemade ghee wins. The first is cost: a block of butter is usually cheaper than the same weight of branded ghee. The second is freshness: ghee made this week smells nutty and rich in a way that a jar sitting on a shelf for months cannot match. The third is control — you choose the butter, so there are no additives, no colouring, and no doubt about what is in the jar.
There is also the cooking advantage. Because ghee is pure butterfat with a smoke point near 250°C, it handles high-heat cooking that would burn butter. Use it to fry spices for a tadka, roast vegetables, fry eggs, or brush over chapatis and parathas straight off the pan. A spoonful stirred into dal or rice adds a richness that oil cannot match.
How to Store Your Homemade Ghee
Good storage is what gives ghee its famously long shelf life. Keep it in a closed glass jar in a cool, dark cupboard, away from light and heat. At room temperature, homemade ghee stays good for about two to three months, and in the refrigerator it easily keeps for six months or more. An unopened jar can last even longer — up to a year in a cool place.
Two rules matter more than anything else: the jar must be completely dry before you pour the ghee in, and the spoon you use to serve it must always be dry. Even a few drops of water can introduce moisture and spoil an otherwise perfect batch. As with other foods you store for weeks, keeping the container clean and dry is half the job — the same principle behind simple ways to keep ginger fresh for weeks applies here: a dry container and a cool, dark spot.
If your ghee ever smells sour or rancid, or you spot mould, throw it away. Properly made and stored ghee should smell nutty and pleasant, never sharp or stale.
Common Mistakes to Avoid
- Using salted butter. Salt changes the flavour and can make the milk solids burn faster. Always start with unsalted butter.
- Cooking on high heat. High heat scorches the milk solids before the water evaporates, leaving a bitter taste. Low and slow is the whole secret.
- Straining too early. If you strain while the liquid is still cloudy, water and milk solids remain and the ghee will spoil faster. Wait for the clear golden liquid and the quiet pan.
- Leaving it on the heat too long. Dark brown or black solids mean burnt ghee. Light golden brown is the target — pull it off the heat as soon as you see it.
- Sealing a warm jar. Trapped steam condenses into water droplets inside the lid, and moisture is the enemy of shelf life. Cool it uncovered first.
Frequently Asked Questions
Is ghee the same as clarified butter?
Yes, ghee is a type of clarified butter. Both are made by removing water and milk solids from butter. Ghee is usually simmered a little longer, which browns the milk solids and gives it a nuttier flavour than plain clarified butter.
How long does it keep?
At room temperature in a sealed, dry glass jar, homemade ghee keeps for about two to three months. In the refrigerator it lasts six months or longer, and an unopened jar stored in a cool, dark place can keep for up to a year. Always use a dry spoon.
Can I make ghee from salted butter?
You can, but it is not recommended. Salted butter can make the milk solids burn more easily and leaves a salty taste in the finished ghee. Unsalted butter gives a cleaner, sweeter result.
Why did my ghee turn out dark or bitter?
Dark or bitter ghee usually means the milk solids burned — the heat was too high, or the pan stayed on the stove too long after the solids turned brown. Next time, keep the heat low and take the pan off as soon as the solids are light golden brown.
Can I make ghee in an Instant Pot?
Yes. To learn how to make ghee in instant pot, melt the butter on the Sauté setting on low, then let it simmer with the lid off, watching for the same three signs — the crackling stops, the liquid turns clear and golden, and the milk solids turn light brown. Strain it into a dry jar just as you would with the stovetop method. Keep the lid off throughout, so the water can escape.
Does homemade ghee need to be refrigerated?
No, it does not have to be. Because the water and milk proteins are removed, ghee is shelf-stable for months at room temperature. Refrigeration simply extends its life further, which is useful if you made a large batch or live somewhere very warm.
Final Thoughts
Learning how to make ghee at home is one of the simplest kitchen skills you can pick up, and it pays off every time you cook. Once you know how to make clarified butter at home, a jar of homemade ghee is never more than half an hour away. One ingredient, one pan, and about 25 minutes gives you a jar of golden, nutty ghee that costs less than the shop-bought kind, tastes better, and keeps for months. Start with the butter method, watch for the three signs that it is done, and strain it into a dry jar. Once you have made your first batch, you will wonder why you ever bought it ready-made.