Learning how to take a screenshot on Android is one of those small skills that saves you time every single day. Whether you want to save a funny chat, keep a copy of a receipt, or share a high score with a friend, a screenshot captures exactly what is on your screen in seconds. The good news is that every Android phone has several built-in ways to do it, and you do not need to install any extra app.
In this guide, you will learn how to screenshot on Android phone models from Samsung, Google Pixel, Xiaomi, OnePlus and Motorola, using buttons, gestures, voice commands and scrolling captures. Pick the method that feels easiest for your phone, and you will be taking screenshots like a pro in a minute.
1. Press Power and Volume Down Together (Works on Every Android Phone)
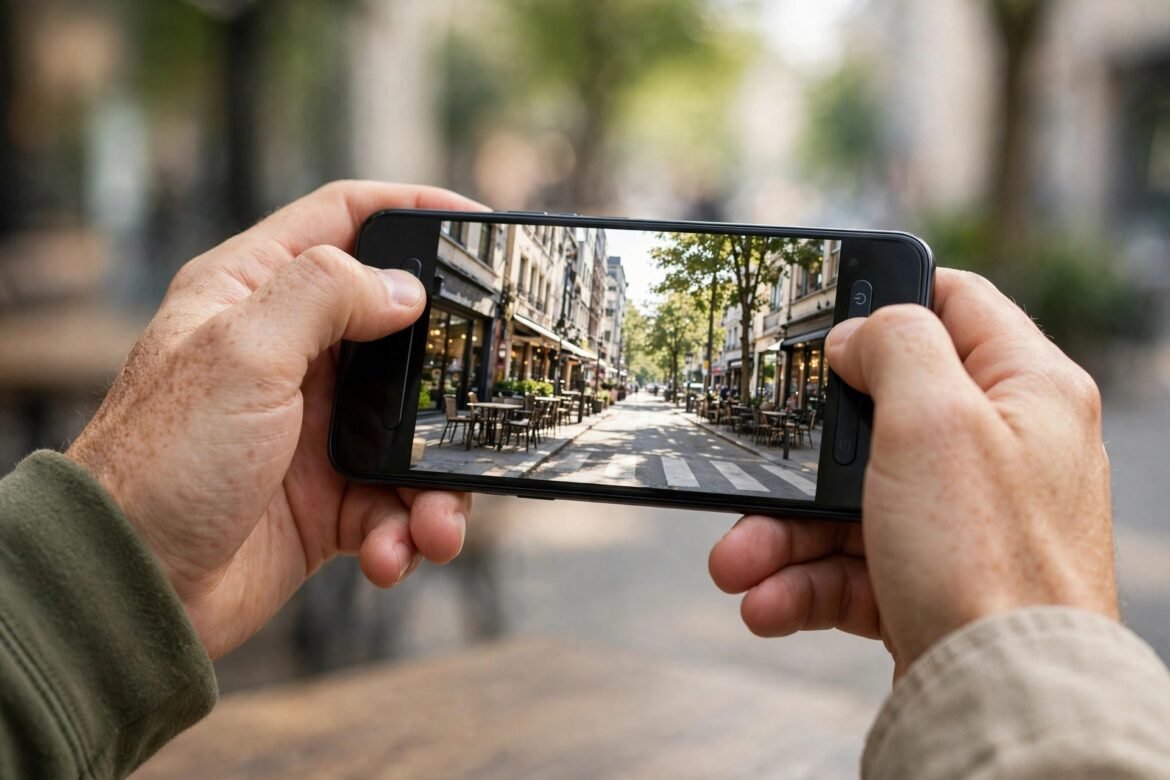
This is the universal method, and it works on almost every Android phone, no matter the brand. Open the screen you want to capture, then press the Power button and the Volume Down button at the same time and release them quickly, after about one second.
The screen will flash, you may hear a camera shutter sound, and a small preview will appear at the bottom of the screen. Tap the preview to edit or share the screenshot right away, or let it disappear and find it later in your gallery.
The trick is timing. Press both buttons together, not one after the other. If you press the Power button first, you will lock the screen. If you press Volume Down first, you will only change the volume. On Samsung Galaxy phones, the Power button is called the Side button, but the combination is exactly the same.
2. Swipe Your Palm Across the Screen (Samsung Galaxy)
Samsung phones offer a handy gesture called palm swipe, which lets you take a screenshot without pressing any buttons at all. First, make sure it is turned on. Go to Settings, then Advanced features, then Motions and gestures, and switch on Palm swipe to capture.
Then place the edge of your hand, the little-finger side, flat on one edge of the screen and swipe it smoothly across to the other side, keeping contact with the glass the whole way. The screen will flash and the screenshot will be saved. If it does not work the first time, the most common mistake is lifting your hand halfway through the swipe, so keep your palm flat and move in one steady motion.
3. Swipe Down with Three Fingers (Xiaomi, OnePlus, Realme and Others)
Many Android phones from Xiaomi, OnePlus, Realme and Motorola let you take a screenshot by swiping down with three fingers. On some phones this gesture is on by default. On others, you need to turn it on first under Settings, then Additional settings, then Gesture shortcuts, and choose Take a screenshot.
Once it is enabled, simply place three fingers on the screen and swipe down. It is one of the fastest methods once you get used to it, and it is perfect when your phone is in one hand and the buttons are hard to reach.
4. Ask Google Assistant to Take a Screenshot
If your hands are busy, you can take a screenshot with your voice. Just say “Hey Google, take a screenshot” and your phone will capture the screen and save it automatically. This works on most Android phones with Google Assistant set up, and it is a great option when you are cooking, driving, or holding something in both hands.
You can also long-press the Home button or swipe up from the bottom corner, depending on your phone, to open the Assistant and then ask for a screenshot.
5. Use Quick Tap or the Overview Button (Google Pixel)
Google Pixel phones have two clever built-in options. The first is Quick Tap: go to Settings, then System, then Gestures, and turn on Quick Tap to take a screenshot by double-tapping the back of your phone. It feels a little strange at first, but it quickly becomes second nature.
The second option is the Overview screen. Swipe up from the bottom of the screen and hold to open the recent apps view, then tap the Screenshot button under the app you want to capture. This is useful when the button combination feels awkward, for example when your phone is lying flat on a table.
6. Take a Scrolling Screenshot for Long Pages
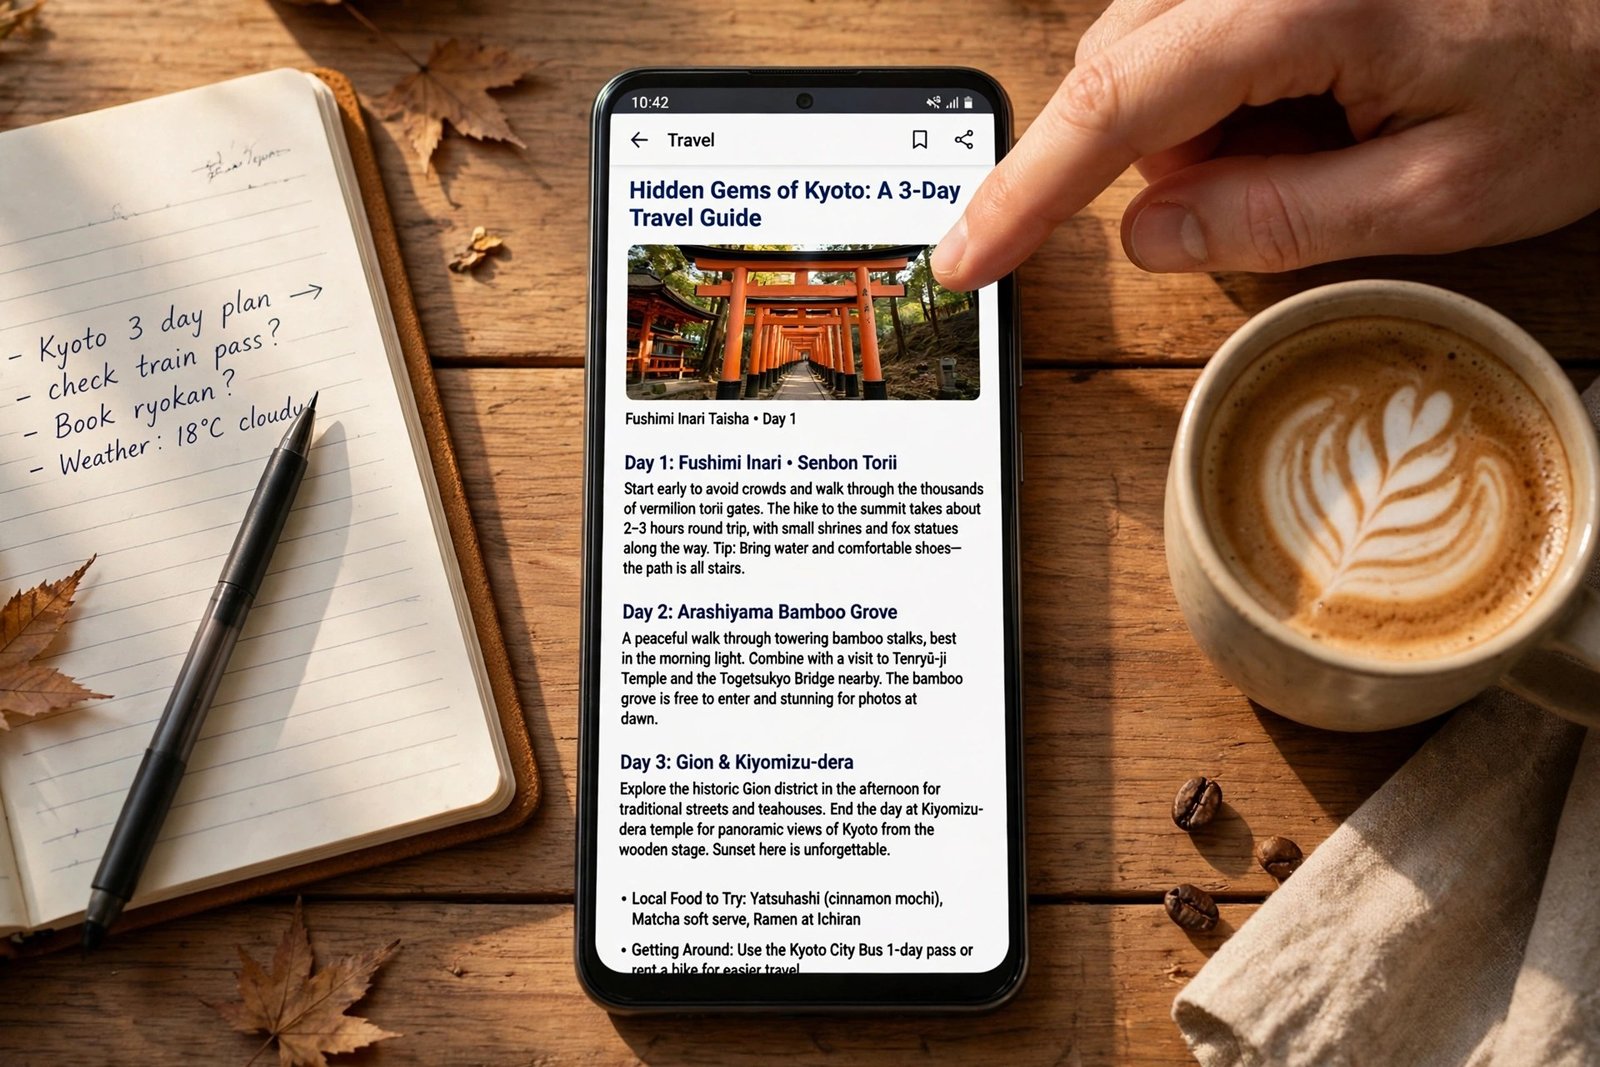
Sometimes one screen is not enough. If you want to capture a whole web page, a long chat, or a full receipt, you need a scrolling screenshot. Here is how to take a scrolling screenshot on Android: take a normal screenshot first, using any method above, while the top of the page is on screen. When the preview appears, look for a Capture more button, or on Samsung phones a Scroll capture button with two downward arrows.
Tap it, and the phone will scroll down and stitch the screens together into one tall image. Keep tapping to capture more of the page, then tap Save when you have everything you need.
Learning how to take a long screenshot on Android is worth it because the result is a single image you can share, instead of five separate screenshots. Most phones running Android 12 or later support this feature. On Samsung it is called Scroll capture, on Pixel it says Capture more, and on OnePlus it is called Expanded screenshot. Note that it only works in apps and on pages that allow scrolling, so it may not appear inside some apps.
7. Take a Screenshot Without Any Buttons
If your Power button is broken, or you simply prefer tapping the screen, Android has a button-free option. Open Settings, then Accessibility, and turn on the Assistant menu. A small floating button will appear on your screen. Tap it, then tap Screenshot, and the phone will capture the screen for you.
Some phones also offer a screenshot tile in the Quick Settings panel. Swipe down from the top of the screen twice to see all the tiles, tap the pencil icon to edit them, and drag the Screenshot tile into place. After that, one tap on the tile captures whatever is on your screen.
Where Are Screenshots Saved on Android?
A common question after the first capture is where are screenshots saved on Android. On most phones, screenshots are stored in a folder called Screenshots inside your gallery or photos app. On a Samsung Galaxy, open Gallery, tap Albums, and look for the Screenshots album. On a Google Pixel, open Photos, tap Collections, then On this device, then Screenshots.
If you use Google Photos with backup turned on, your screenshots may also be backed up to the cloud, which makes them easy to find on your computer later. Screenshots do take up storage over time, so it is worth deleting the ones you no longer need now and then. If your phone storage is getting full, read our guide on how to free up space on your phone for simple ways to clear it out.
How to Edit a Screenshot on Android
Once you know how to take a screenshot on Android, the next step is editing it. After you take a screenshot, tap the preview that appears at the bottom of the screen to open the editor. You can crop out the parts you do not need, draw or highlight something important, and add text. The editor also lets you blur sensitive details, like a phone number or an address, before you share the image with someone else.
If you miss the preview, open the screenshot from your gallery and tap the Edit or pencil icon. The same tools will be there, and you can save the edited version or share it straight from the editor.
Troubleshooting: When Screenshots Do Not Work
If the button combination does nothing, check that you are pressing both buttons at exactly the same moment, and that you are releasing them quickly rather than holding them down. Holding Power and Volume Down for too long can open the power menu instead.
If palm swipe does not work, double-check that it is switched on in Settings, and use the very edge of your hand rather than your fingertips. If the scrolling capture button never appears, the app you are using may not support it, so try it in your browser or in a chat app instead.
Finally, remember that some apps, like banking apps and some streaming services, block screenshots for security or copyright reasons. In that case you will see a black screen or a message saying screenshots are not allowed, and no setting on your phone can change that.
Conclusion
Now you know how to take a screenshot on Android in seven different ways, from the classic Power and Volume Down buttons to palm swipes, three-finger gestures, voice commands and scrolling captures. Start with the button method, because it works on every phone, then try the gesture or voice option that suits your daily routine. Once you find your favourite, taking a screenshot will take less than a second, and you will wonder how you ever managed without it.