
A crisp, well-ironed shirt can change how your whole outfit looks. Whether it is for the office, a wedding, or an important meeting, learning how to iron a shirt properly takes only a few minutes once you know the right order — and it is far easier than most people think. The same simple method works any time you need to know how to iron clothes neatly, not just dress shirts.
Ironing is not about pressing hard or rushing through the fabric. It is about the right temperature, a little steam, and working through the shirt in a sensible order: collar first, then cuffs, sleeves, shoulders, and finally the body. Follow the steps below and your shirt will look freshly pressed every time.
What You Need Before You Start
You do not need fancy equipment. A basic steam iron, an ironing board, and a clean shirt are enough. Fill the iron with water if you plan to use steam, and keep a spray bottle nearby — lightly damp fabric irons much more easily than bone-dry fabric. If your shirt is very creased, sprinkle a little water on it a few minutes before you begin.
Before you switch the iron on, check the care label inside the shirt. It tells you the safest temperature for the fabric, and following it is the simplest way to avoid shiny marks or scorching.
Set the Right Temperature for the Fabric
Different fabrics need different heat. Cotton and linen can take high heat, while silk and synthetics need a cooler iron. As a rough guide: cotton around 200°C (400°F), linen up to 215°C (425°F), wool and silk around 150°C (300°F), and polyester around 150°C (300°F) with little or no steam. When in doubt, start cooler and turn the heat up gradually — you can always add more heat, but you cannot undo a scorch mark. Always test the iron on a hidden spot, like the inside of a hem, if you are unsure.
Step 1: Iron the Collar
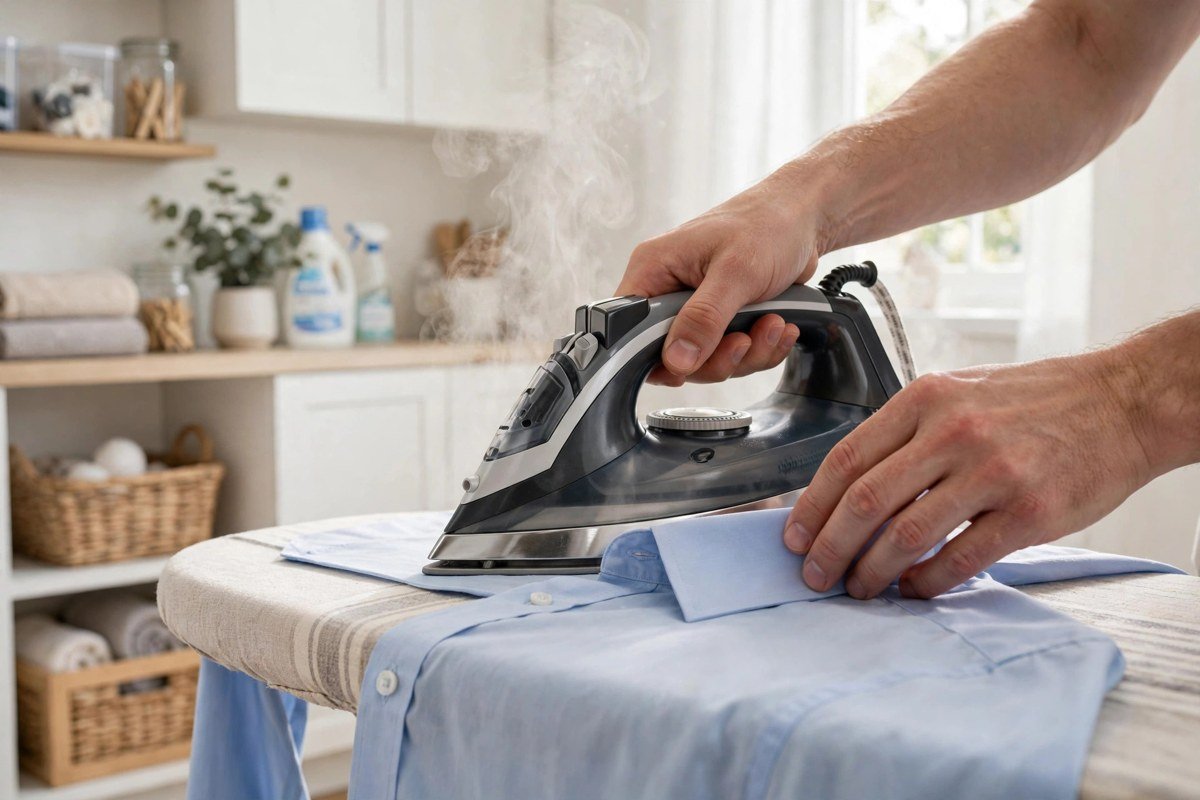
Start with the collar, because it frames your face and is the first thing people notice. Lay the collar flat on the board with the underside facing up. Learning how to iron a shirt collar the right way is simple: press from the points toward the centre, never from the centre outward, so you do not push creases into the tips. Flip it over and press the outer side lightly, then fold the collar into its natural position and give it one final light pass. If the collar has stays, remove them before ironing and put them back afterwards.
Step 2: Iron the Cuffs
Unbutton the cuffs and lay each one flat on the board, inside first. Press from the edges toward the middle, then turn the cuff over and press the outside. For double cuffs, fold them back into shape after pressing. Crisp cuffs make a surprising difference to how smart a shirt looks, especially when they show just below a jacket sleeve.
Step 3: Iron the Sleeves
Lay one sleeve flat on the board, smoothing it from the shoulder to the cuff so the seam sits along the edge. Press the sleeve in long, even strokes. If you want a sharp crease, line the seams up and press along the fold; if you prefer a softer look, keep the sleeve slightly rounded and avoid pressing a hard line into it. Repeat with the second sleeve. This is the part most people rush, but taking an extra minute here is what separates a decent job from a truly neat one — knowing how to iron a shirt sleeves section well is simply a matter of keeping the fabric flat and smooth before the iron touches it.
Step 4: Iron the Shoulders and Yoke
Fit the shoulder of the shirt over the narrow end of the ironing board and press the yoke — the panel across the top of the back — smoothing from the centre outward. Then do each shoulder in turn. This step only takes a minute, but it removes the stubborn creases that gather around the seams.
Step 5: Iron the Body
Now for the main part. Lay one side of the shirt’s body flat on the board, button placket facing up. Press the front panel, working around the buttons — never iron directly over them, as the heat can crack or melt them. Move the shirt along the board and press the back panel, then the other front panel. Work in smooth strokes and let the steam do the work; pressing down hard is rarely needed and can leave a shine on the fabric.
Step 6: Hang It Up Straight Away
As soon as you finish, button the top button and hang the shirt on a proper hanger. Let it cool for a few minutes before you wear it or put it in the wardrobe — a warm shirt creases again much more easily than a cool one. If you are ironing several shirts, hang each one as you finish it rather than stacking them in a pile.
How to Iron a Shirt Without an Iron
No iron? No problem. There are several ways to get a shirt looking presentable, and knowing how to iron a shirt without an iron is a handy skill for travel days and power cuts alike. Hang the shirt in a steamy bathroom for ten minutes while you shower — the steam relaxes most creases. A handheld garment steamer works even better and is gentler on delicate fabrics. A hair dryer on medium heat, held a few inches from the fabric while you pull it taut, smooths out light wrinkles. And for small creases, a damp cloth pressed firmly over the area with a warm pan or a straightener (on low heat, only for sturdy cotton) can work in a pinch.
Common Mistakes to Avoid
The most common mistake is ironing with the heat too high for the fabric — always check the label first. The second is ironing over buttons, zips, or prints, which can damage both the shirt and the iron. The third is ironing a dirty shirt: heat sets stains permanently, so always wash first. If you have just removed a stain, check our guide on how to remove stains from clothes before you press the shirt — ironing over a stain you missed will only make it harder to remove later.
Storing Shirts So They Stay Crisp
Good ironing is wasted if the shirt is stuffed into a drawer. Hang shirts on wide hangers with a little space between them, button the top button, and keep them out of a crowded wardrobe where they get crushed. For travel, roll the shirt instead of folding it — it arrives with far fewer creases.
Final Thoughts
Once you know how to iron a shirt step by step, the whole job takes less than ten minutes — and the result is worth it. A neat, wrinkle-free shirt looks smart, feels comfortable, and lasts longer because you are caring for the fabric properly. Start with the collar, work through the cuffs, sleeves, and body in order, hang it up straight away, and you will never dread the ironing board again.